


Dermaplaning Kit

free u.s. shipping on orders over $75

30 day guarantee or your money back

developed by kerry founder + aesthetician
Choose options
Dermaplaning Kit
Sale price$122.00
Regular price
Your at-home dermaplaning routine, all in one kit. Everything you need to exfoliate dead surface skin and remove peach fuzz, plus a metal case to keep it all together.
A $146 value for $122. The tool and both blade refills cost less here than buying them separately, and the $20 case is free.
What's Included
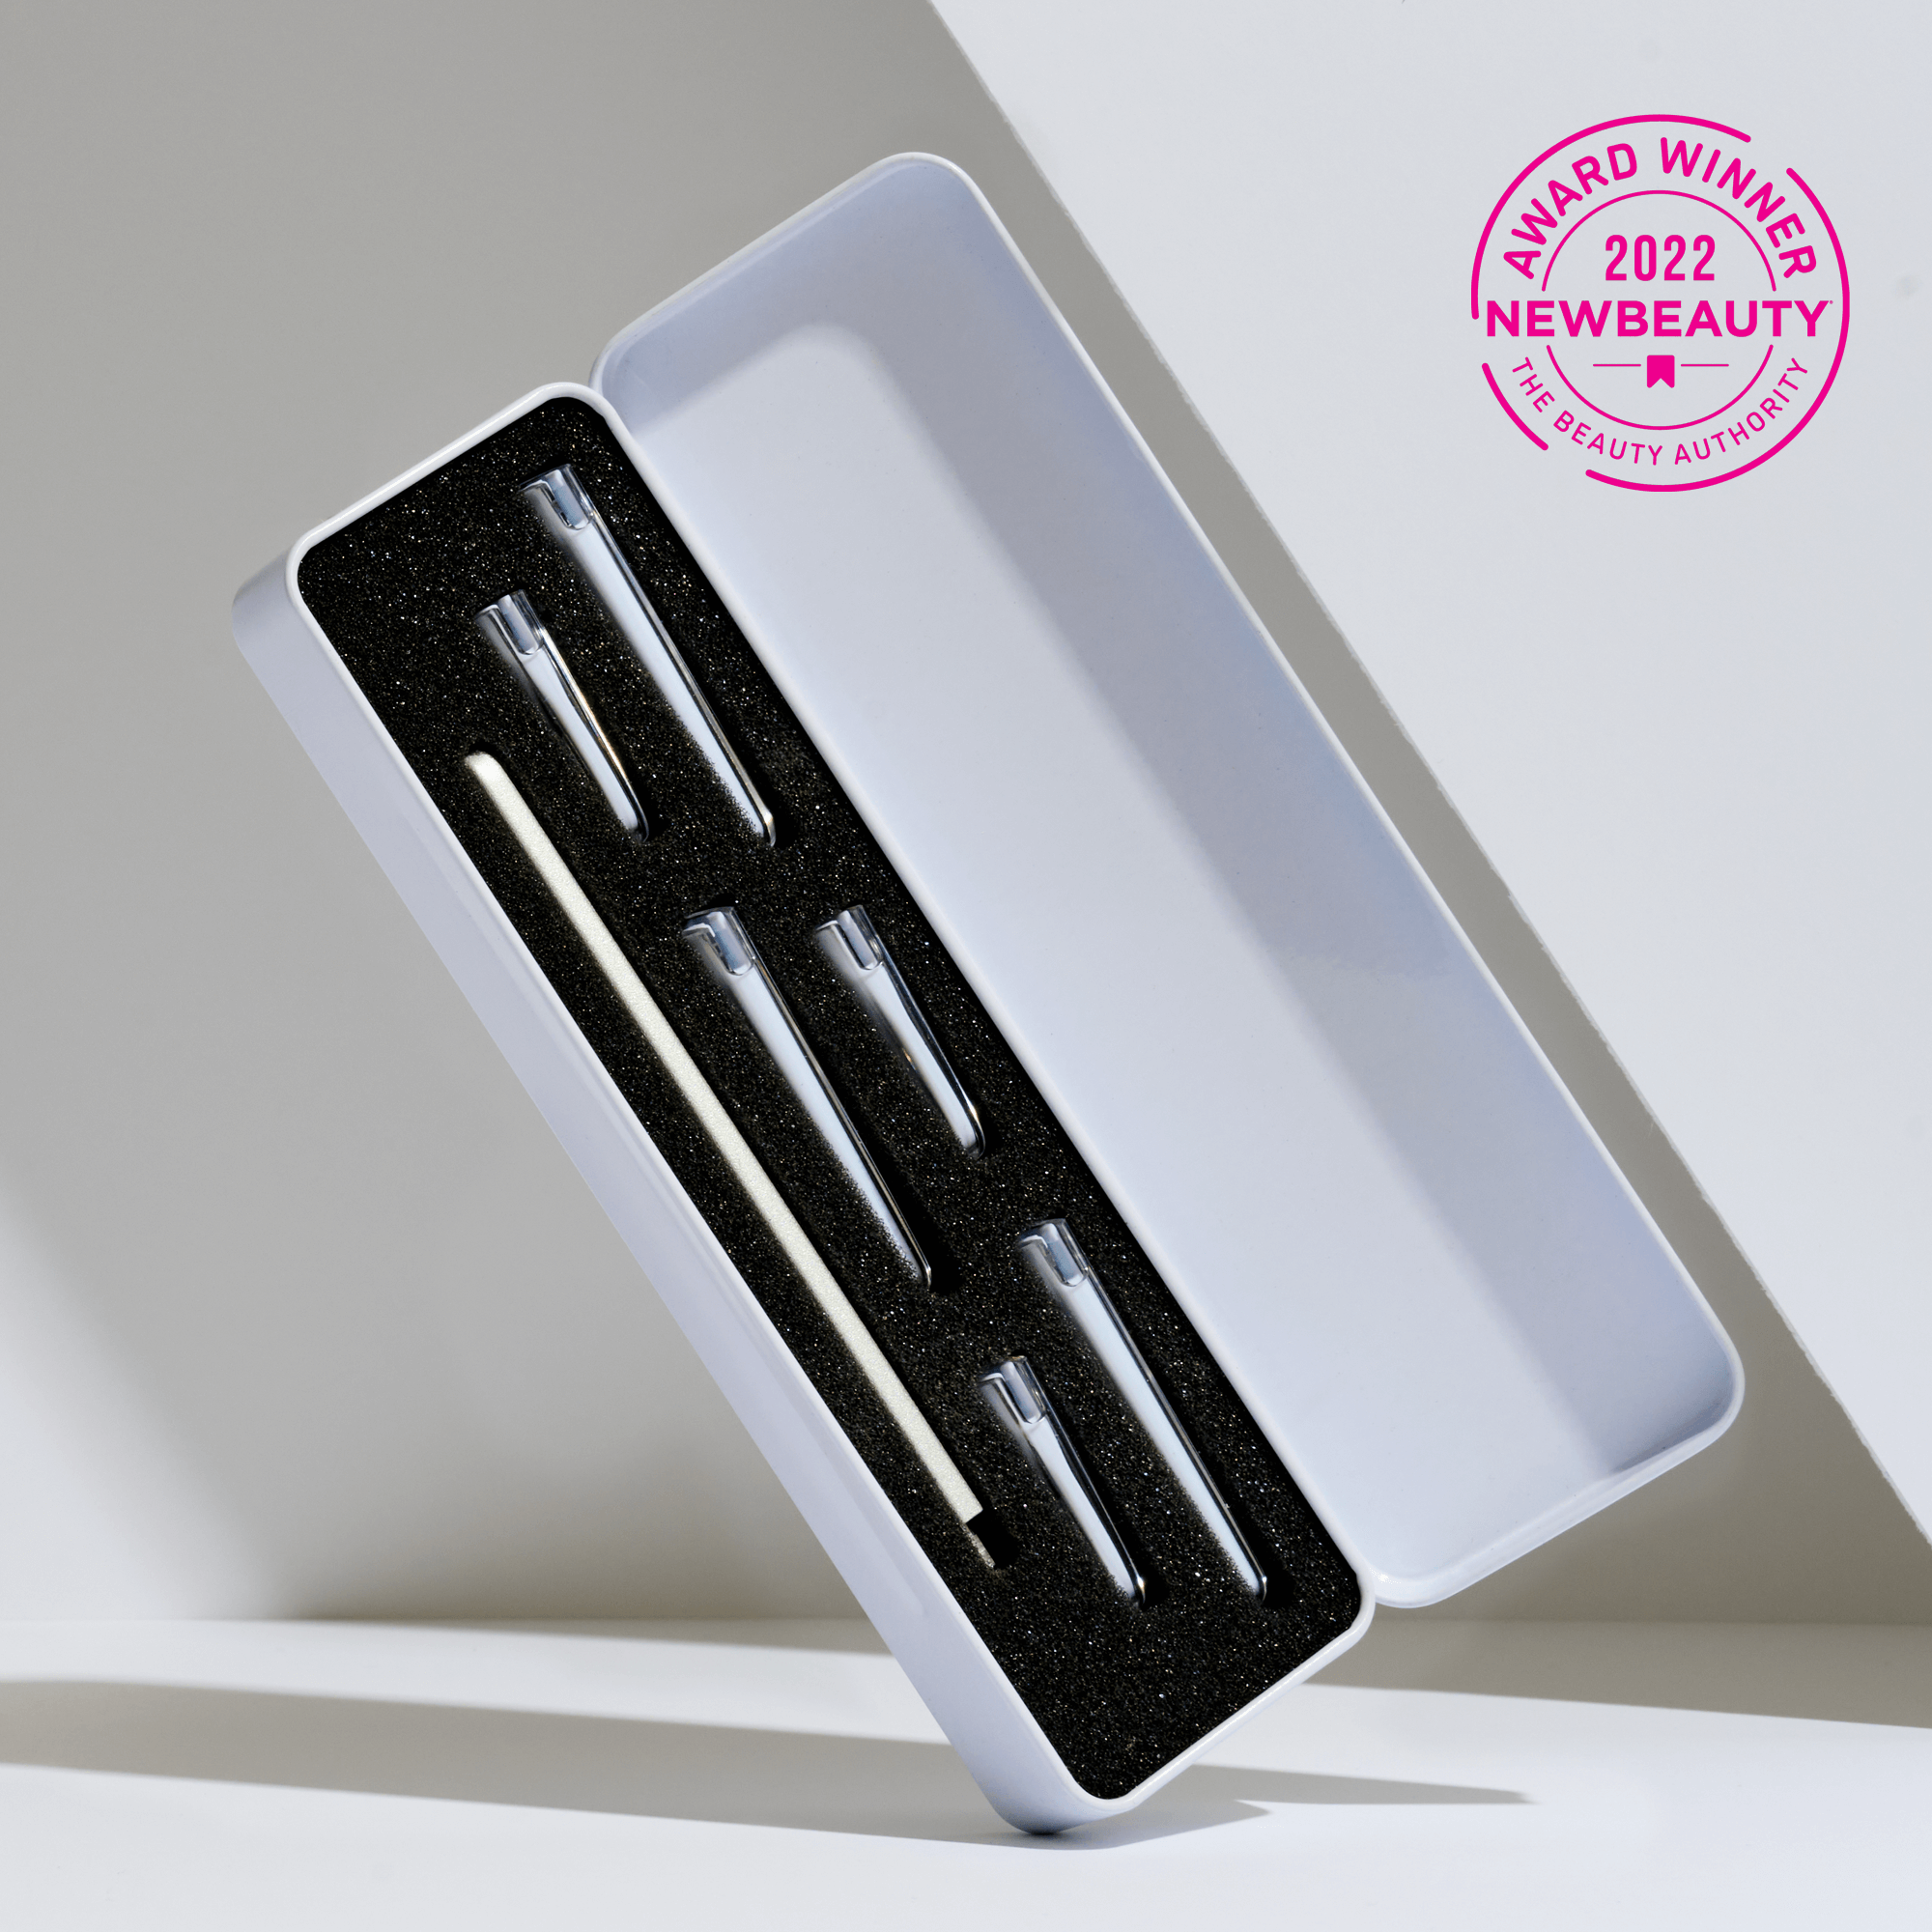
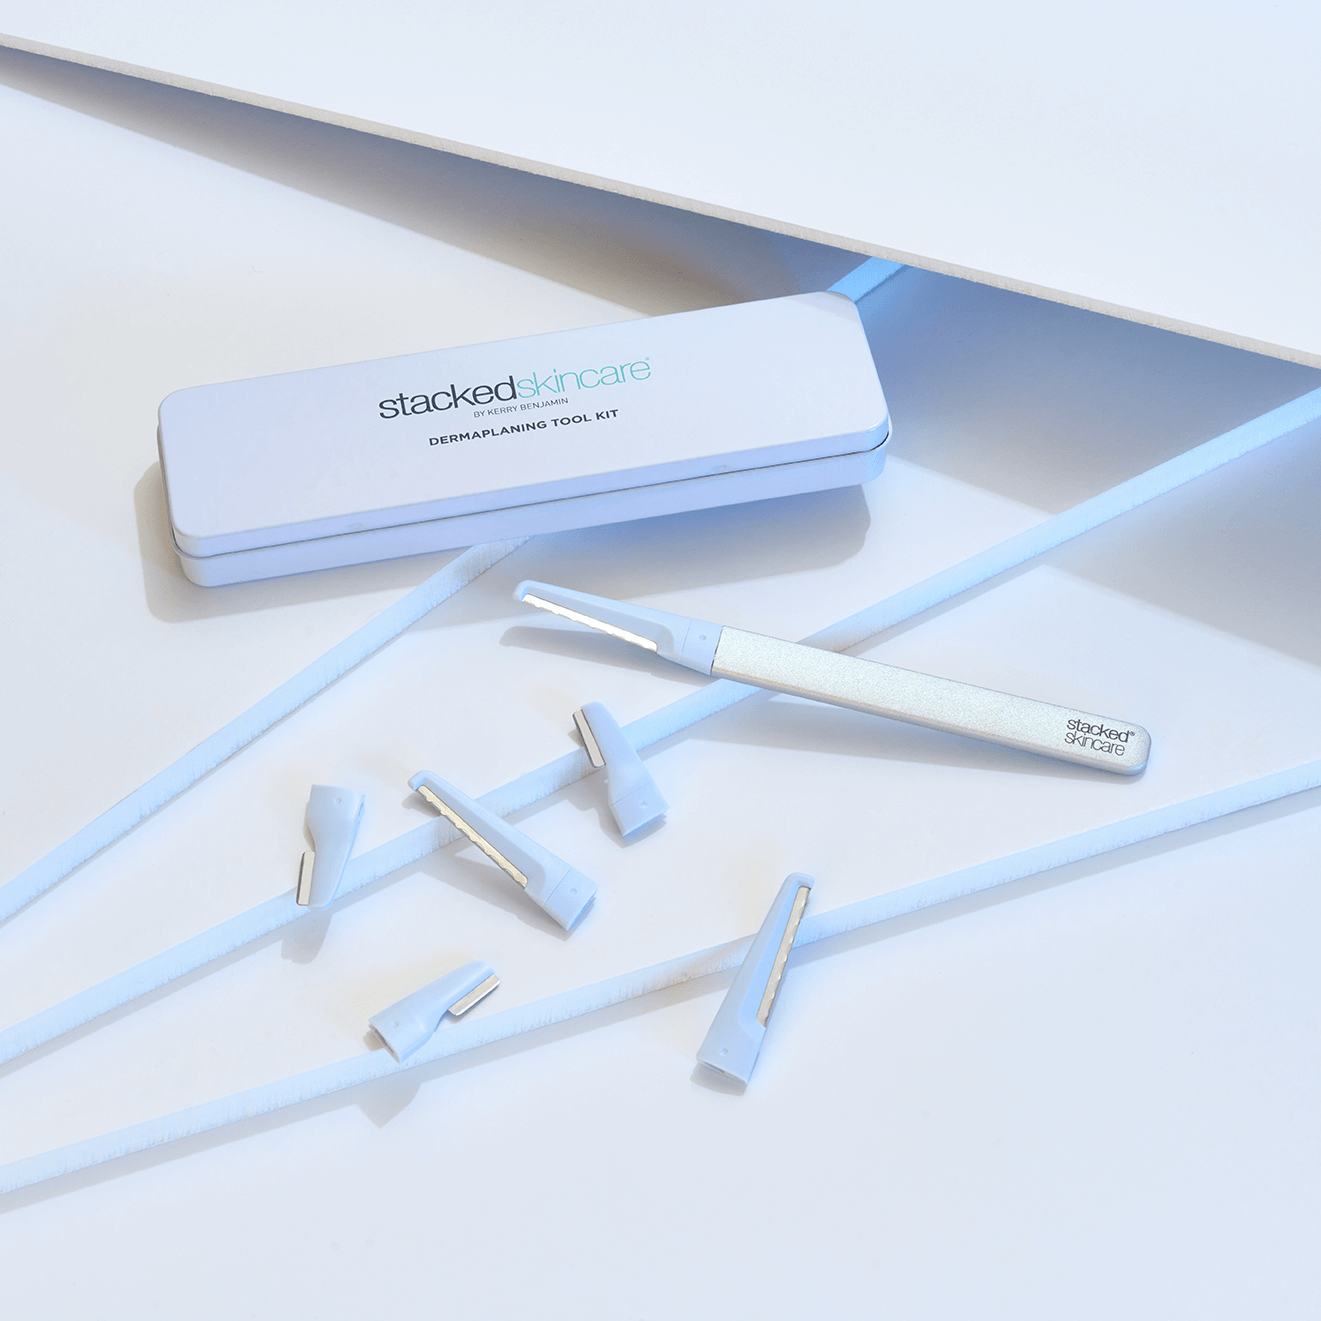
- Dermaplaning Tool with aluminum handle and blade attached
- 3 regular stainless steel replacement blades — for cheeks, jawline and forehead
- 3 precision stainless steel replacement blades — for brows, upper lip and tight spots
- Protective metal case with dedicated slots for the handle and blades
Why Dermaplane?
Dermaplaning is exfoliation first. Peach fuzz removal is the bonus. It removes dead skin buildup so skin feels smoother, looks brighter, makeup goes on more smoothly, and your skincare absorbs better.
How to Use
- Dermaplane in the evening on clean, completely dry skin.
- Use 1–4 times a month. More is not better.
- Swap the blade about once a month.
- Store the handle and blades in the case between uses.
For step-by-step technique, see the Dermaplaning Tool page.
Who Should Avoid Dermaplaning
- Active inflamed acne
- Open lesions or healing skin
- Skin that is severely irritated
Safety Information
- Safe to use during pregnancy
- Blade contains 5% nickel
Before & Afters
Your questions, answered
-
How should I prep my skin before dermaplaning?
 Start with clean, completely dry skin. Cleanse thoroughly to remove all makeup, oil, and product, and make sure your skin is fully dry before you begin. Dermaplaning should always be done on dry skin — if you apply oil first, the blade can't properly exfoliate the dead skin and peach fuzz.

 "I'll begin by coating my face in jojoba oil. I'll be using a dermaplaning tool from StackedSkincare."
 -
What are the benefits of using the dermaplaning tool?
The dermaplaning tool removes the buildup of dead skin and peach fuzz. This increases the ability of skincare products to be absorbed into the skin, evens out skin tone, and smooths rough skin texture.
"This tool uses a blade to remove the buildup of dead skin and peach fuzz. This procedure results in the increased ability of skincare products to be absorbed into the skin."
-
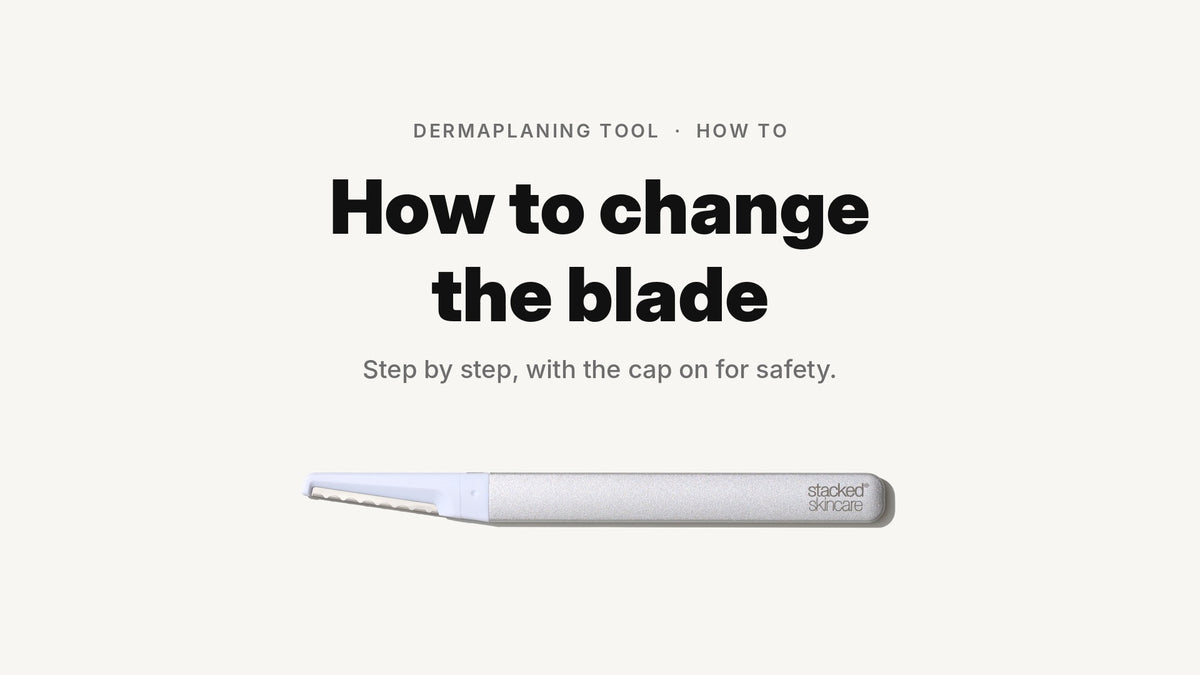
How do I remove the old blade from my dermaplaning tool?
 First make sure the protective cap is on correctly — the cut-out part of the cap must sit over the metal piece, or the blade won't release. With the cap securely in place, gently slide the blade off to the side.
 "First, you want to make sure the protective cap is fully on. Then, you want to gently slide the blade to the side."
 -
Do I need to force the new blade when replacing it?
No — you should never have to force it. A new blade slides on easily. If it resists, check that the cap is on correctly (the cut-out should sit over the metal piece) rather than pushing hard.
"Finally, when replacing your new blade, just remember you should never have to force it to slide on."
-
How often should I change my dermaplaning blade?
Replace it about once a month for best results — or sooner if it feels dull, drags, or your treatment doesn't feel as smooth.
"And don't forget to change your dermaplaning blade monthly for best results."
Content last updated July 31, 2026